A themed backdrop is the part of an event that ends up in the most photos. The dessert table will get cropped. The flower arrangements will get cropped. The DJ booth will get cropped. The backdrop is where the camera lives for two hours, where the kids will pose, where the bride-to-be will stand for her gifts, where the cake will be set up, and where every wide shot of the room will have its visual anchor.
It’s also the part of an event that most often gets planned last.
That’s the thing we wish we could change. A backdrop that works is one that gets planned early, with intention about what photographs will land in front of it, how big the install needs to be for the space, and how the rest of the room is going to read with it. This is the post for the part of planning where you decide on yours.
Start with the photo, not the theme
The backdrop’s job is to make the photos great. Everything else flows from that.
So before you pick a color, before you pick a theme, before you pick a fabric, ask yourself which specific photo you want this party to produce. The cake photo with the birthday girl in front of it? The first-look photo with the bride’s mother? The group photo with all the bridesmaids together? The candid photo of the groom dancing with his grandmother?
Different photos want different backdrops. A close-up portrait wants a backdrop wide enough to fill the frame at portrait orientation (about 5 to 6 feet wide minimum). A wide group shot wants something at least 8 to 10 feet wide so it doesn’t crop awkwardly behind a row of people. A vertical-format social-media moment (the cake reveal, the proposal speech) wants something taller than it is wide, with the action point about a third of the way down.
If you don’t know which photo matters most, picture the moment from the wedding shower or the birthday or the grand opening that you most want to remember in five years. Build the backdrop for that moment. Everything else is bonus.
Pick a theme that has an anchor object
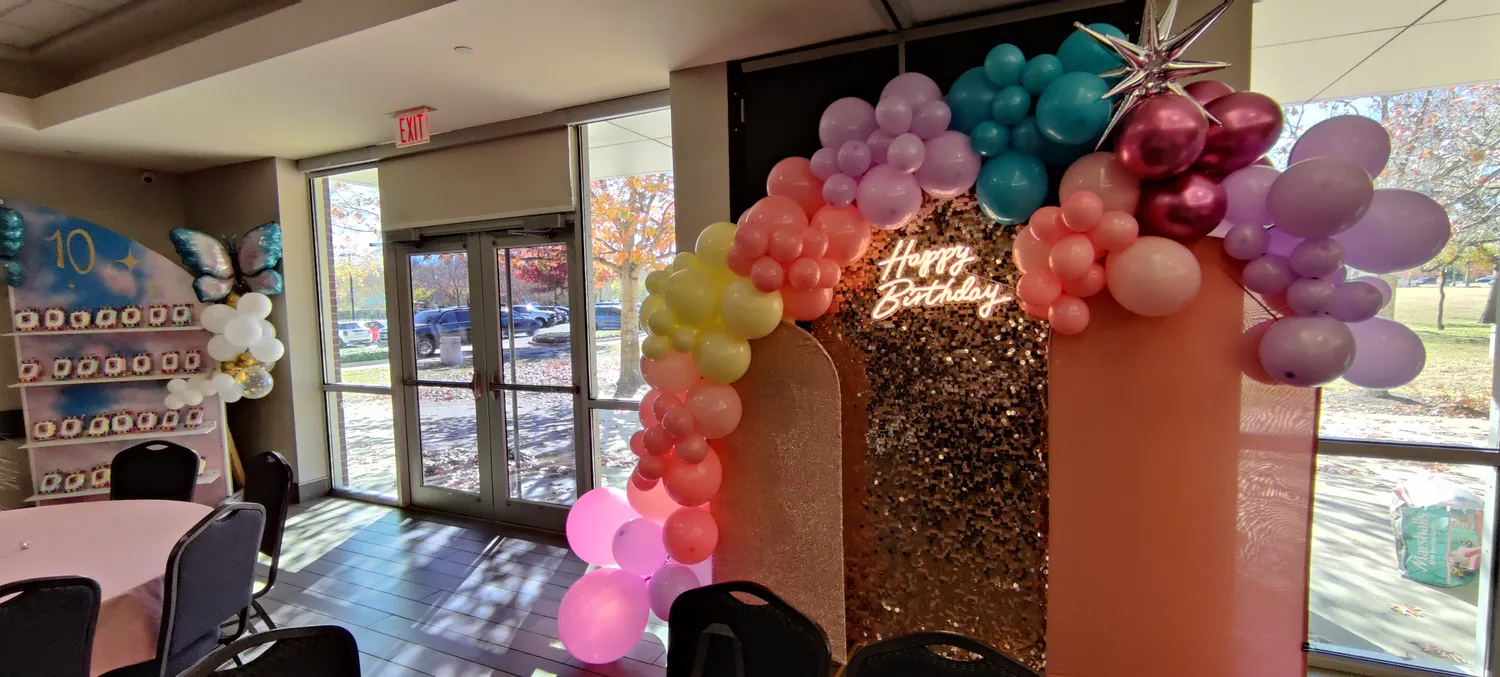
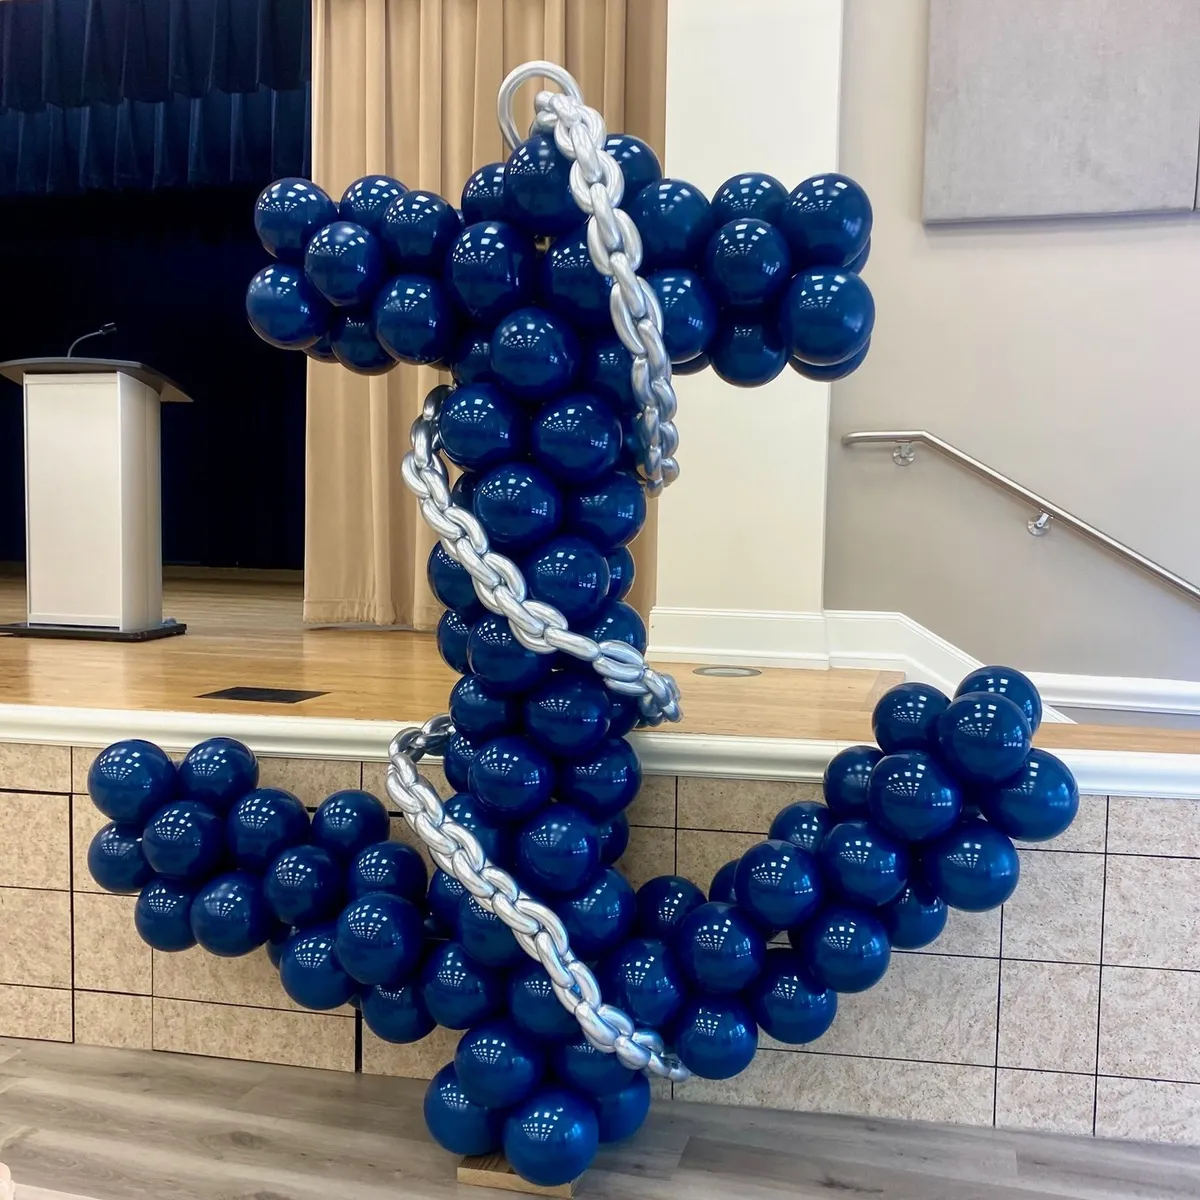
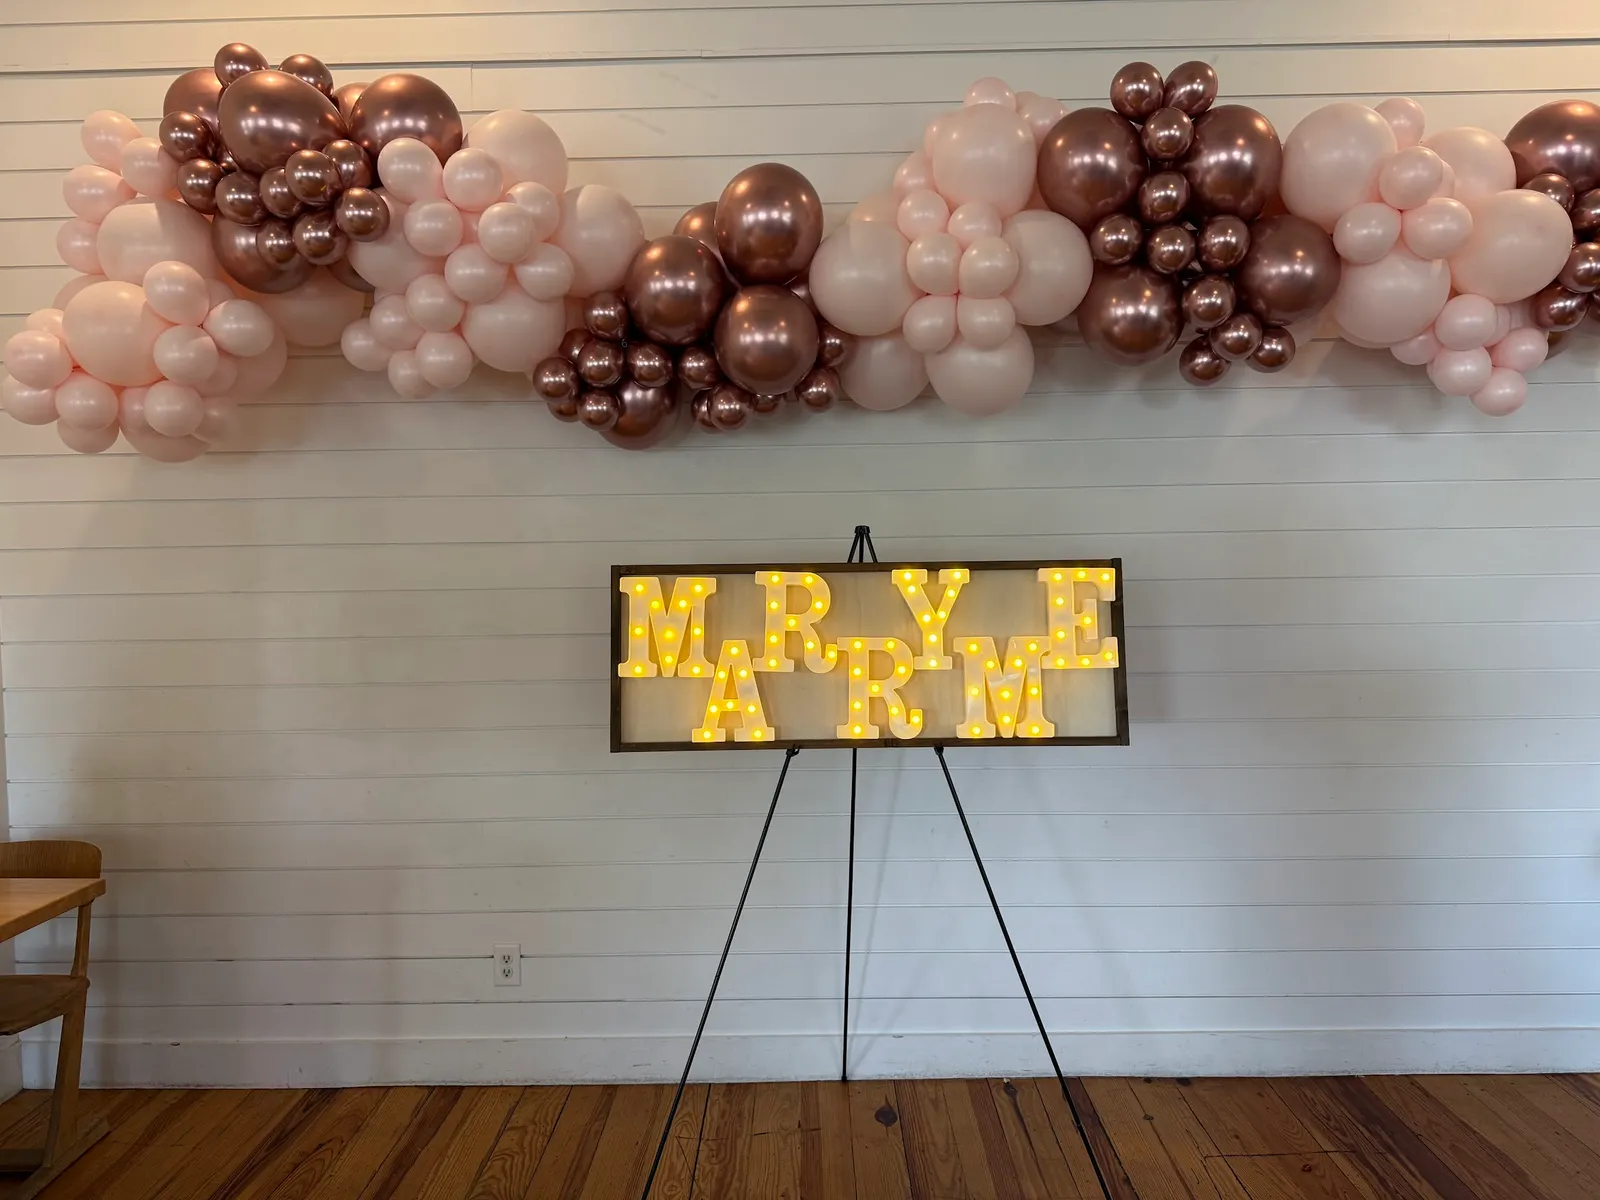
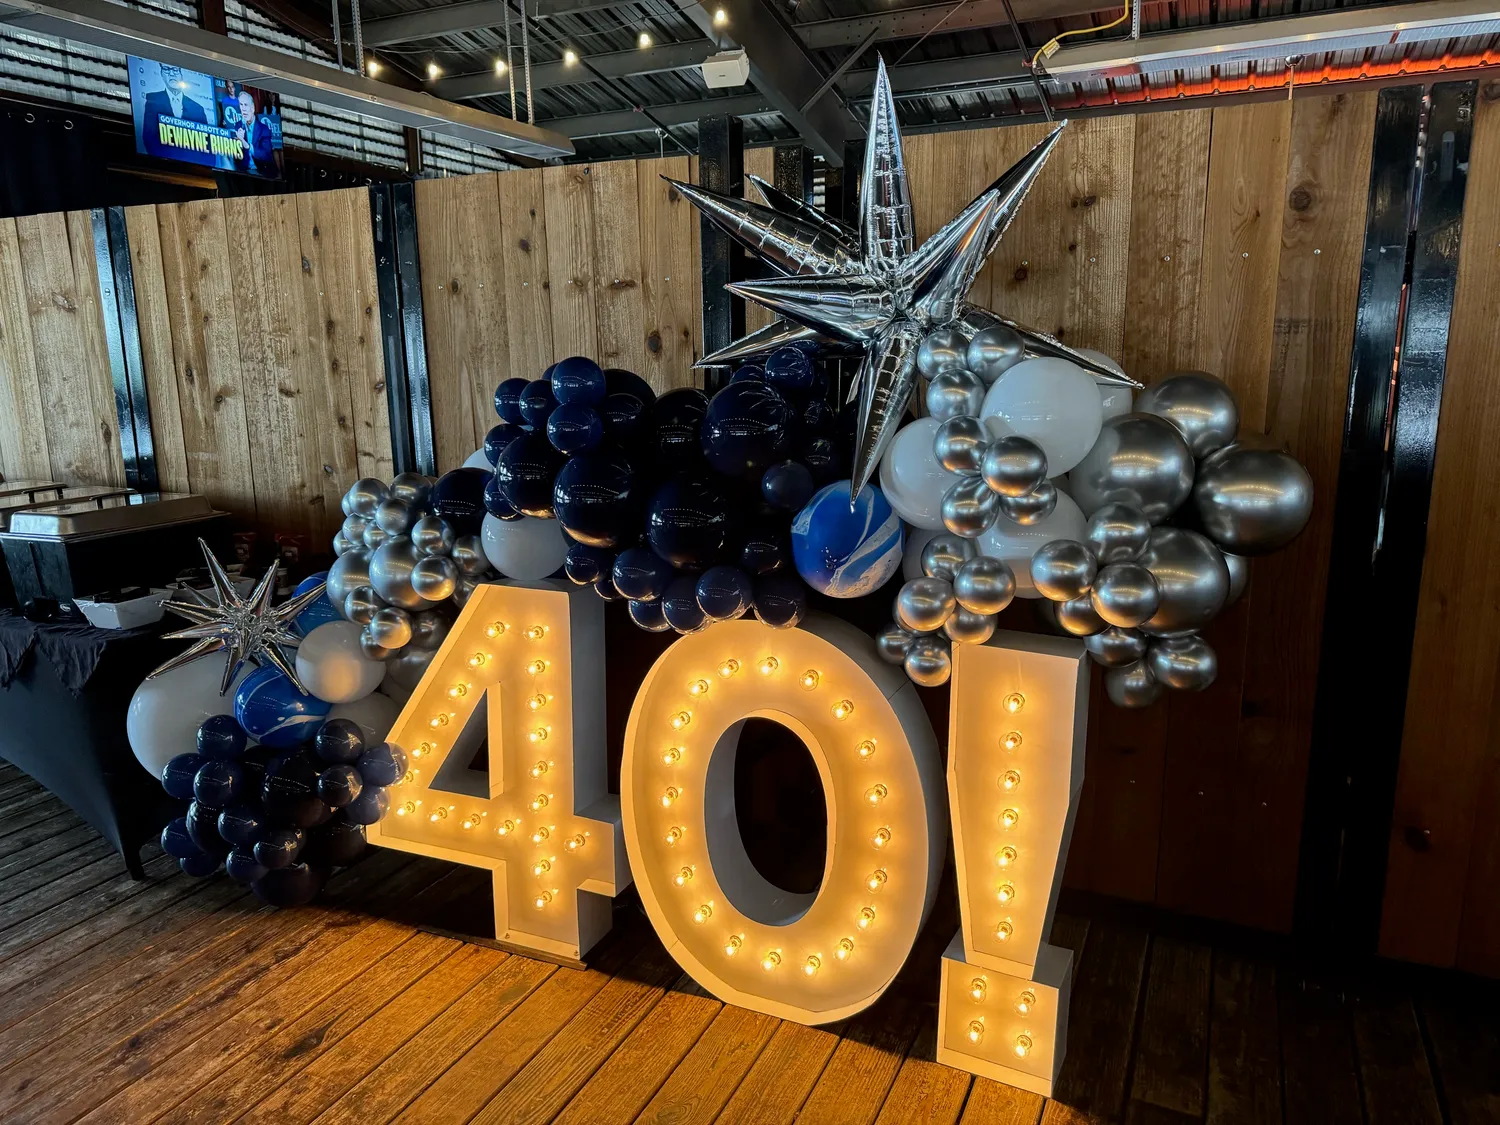
The strongest themed backdrops we build always have a single anchor object inside them. The HOWDY smiley face on a pink fabric panel (for a 10th birthday). The lit “Happy Birthday” neon on a rose-gold shimmer panel (for a Taylor Swift party). The Roman-numeral analog clock on a dark grid (for the same party’s Midnights moment). The bride’s name in foil letters on a balloon wall.
The anchor object is what tells the camera what the theme is. The balloon arch around it sets the palette. The foil shapes and accents make it photogenic. But the anchor object is what the eye actually lands on.
Pick the object first. Source the object first. Then build the backdrop around it.
Match the install size to the space
A backdrop too small for the room reads cheap. A backdrop too big for the room reads chaotic. The goal is for the install to dominate the area immediately in front of it without overpowering the rest of the room.
Our rough rule of thumb:
- Small home parties (dining room, great room): backdrop 6 to 8 feet wide, balloons climbing 7 to 8 feet at the peak.
- Mid-size events (banquet room, restaurant private dining): 8 to 12 feet wide, balloons 9 to 10 feet at the peak.
- Big public-facing installs (grand openings, large weddings): 12 to 20-plus feet, scaled to the storefront or ballroom.
When in doubt, go slightly bigger. A backdrop you can stand close to and still fit in the frame is the goal.
Plan where it goes
The backdrop should sit against a wall the photo doesn’t need to “explain” with extra context. Avoid putting it in front of windows (backlighting blows out the photo unless you have a pro photographer), busy artwork (competes with the install), or open doorways (people will photo-bomb when they walk through).
The wall behind the backdrop should be solid, neutral, and ideally light-colored. Brick, painted drywall, paneled wood, fabric-covered partitions, even a curtain hung specifically for the day. What you don’t want is a window, a TV, a hallway, or a kitchen visible behind your install.
The ground in front of the backdrop matters too. Wood floor or polished tile photographs cleaner than carpet. If the floor is carpeted and busy, lay down a rug or a runner that ties to the install.
Let us help with the planning
Half of what we do for every backdrop client is the planning conversation, before any balloons are blown up. We will tell you what photographs well, what sizing to ask for, where to put it in your specific room, and which anchor object to source first. We have seen a lot of rooms. We know which decisions make the photos better.
If you’re planning a kids’ birthday, a baby shower, a bridal shower, a wedding, a grand opening, or a milestone celebration in Coppell, Grapevine, Colleyville, Lewisville, or Flower Mound, tell us about your event and we’ll build something the camera loves.